Installation
Bruin has two high-level components that make it work best:
- a command-line interface (CLI) application: Bruin CLI
- a Visual Studio Code extension: VS Code Extension
We recommend installing both of these components to make the most of the Bruin experience.
Prerequisites
Bruin requires a few components to be installed:
- Git
- Visual Studio Code: optional, but highly recommended
In addition, there are some optional components:
- DuckDB: optional, useful for the tutorials in this documentation
Bruin CLI
Install using curl
Use curl to install Bruin on macOS, Linux or Windows:
curl -LsSf https://getbruin.com/install/cli | shOr you can also use wget to install Bruin:
wget -qO- https://getbruin.com/install/cli | shNOTE
The Homebrew installation method is deprecated. If you previously installed Bruin using brew, uninstall it first before running the curl command. [!IMPORTANT] If you are on Windows, make sure to run the command in the Git Bash or WSL terminal.
Bruin home directory
Set the global BRUIN_HOME environment variable to a writable, dedicated directory to relocate Bruin's runtime tools and state. This is useful when your user home is read-only or unavailable:
export BRUIN_HOME=/work/bruin-home
bruin run ./my-pipeline
In PowerShell, use $env:BRUIN_HOME = 'D:\bruin-home'.
- Bruin stores uv, ingestr, virtual environments, R caches, and telemetry state there instead of
~/.bruin. - DuckDB and Spark ADBC drivers are installed and loaded from
$BRUIN_HOME/adbc. - uv's package cache, managed Python installations, and tools use this directory too. Explicit
UV_CACHE_DIR,UV_PYTHON_INSTALL_DIR,UV_TOOL_DIR, andUV_TOOL_BIN_DIRsettings take precedence. Existing uv-managed caches outside~/.bruinare not copied.
On first use, Bruin copies existing files from ~/.bruin, preserving file permissions and symlinks without deleting the originals or replacing destination files. Existing ADBC drivers are copied from the platform's user ADBC directory when needed (typically ~/.config/adbc/drivers on Linux); their manifests are updated to point to the new location. This is a one-time migration, not ongoing synchronization. Automatic migration covers the legacy locations, not another custom BRUIN_HOME.
Use an absolute path for consistent behavior across projects. Relative paths resolve from the current working directory. Leave BRUIN_HOME unset or empty to keep the default locations. The variable does not relocate the Bruin CLI executable, project .bruin.yml files, project logs, Cloud login configuration, or third-party tools' own storage such as DuckDB extensions.
bruin clean clears the selected Bruin home, so do not point it at a directory containing unrelated files.
Bruin VSCode Extension
Open Visual Studio Code: Launch VS Code on your computer.
Go to Extensions: Click the Extensions icon in the Activity Bar.
Search for "Bruin": type "Bruin" in the Extensions search bar.
Install the Extension: Click the Install button next to the Bruin extension in the results. You can also check the "Auto Update" option to ensure you don't miss out on new features and fixes.

Check Bruin CLI Installation:
- When you click the Bruin Launch button, the extension checks if Bruin CLI is installed.
- If the CLI is not installed, a message will appear in the Settings tab with a button to install it.
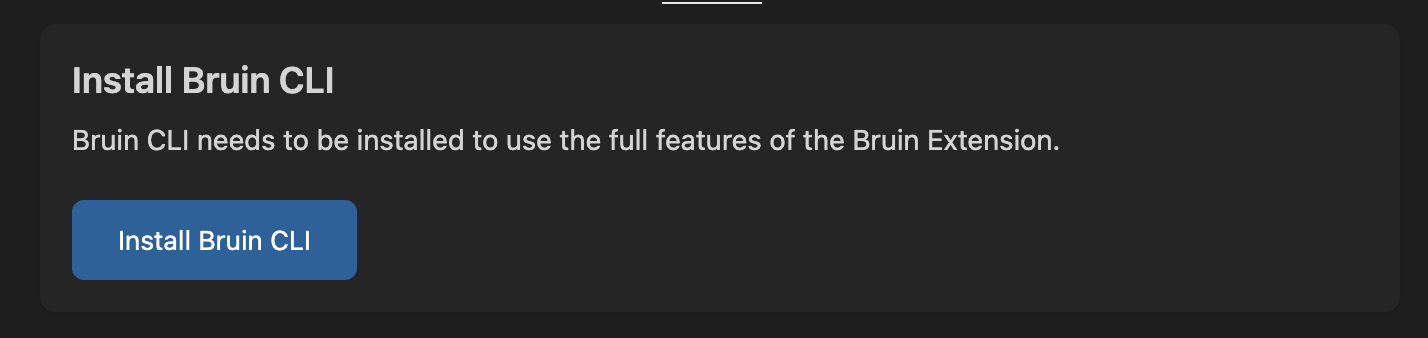
That's it, you are ready to roll with Bruin.
Troubleshooting
'Permission Denied' error during the CLI installation
Issue
When installing the Bruin CLI, you may encounter a 'Permission Denied' error. This typically happens if the user doesn't have permission to write the binary to the ~/.local/bin directory.
Solution
Ensure that your user has write permission to ~/.local/bin, then rerun the installer without sudo. Running the default installer with sudo can install Bruin into root's home instead of your own.
Alternatively, on macOS or Linux, install system-wide by explicitly selecting a directory on your PATH:
curl -LsSf https://getbruin.com/install/cli | sudo sh -s -- -b /usr/local/bin